For you all sweet tooth ladies (and gents) I thought I'd share my easy-peasy cheesecake recipe. There is no cooking involved, just simply throwing ingredients into a bowl!
So what you'll need is...
- 360g ~ Digestive biscuits (a large packet is fine)
- 150g ~ Butter
- 500g ~ Cream cheese (e.g Philadelphia)
- 100g ~ Icing sugar
- 200ml ~ Double cream
- 1tsp ~ Vanilla essence
- Fruit ~ anything you like...strawberries, raspberries, blackberries - whatever takes your fancy!
The base...
Weigh out 360g of your digestive biscuits. Once done put these into a zip-lock/freeze bag and seal it up secure. Using a rolling pin, take out all your aggression onto the biscuits and bash them to pieces. You're looking for fine biscuit crumbs. Be careful not to split the bag or hit yourself!
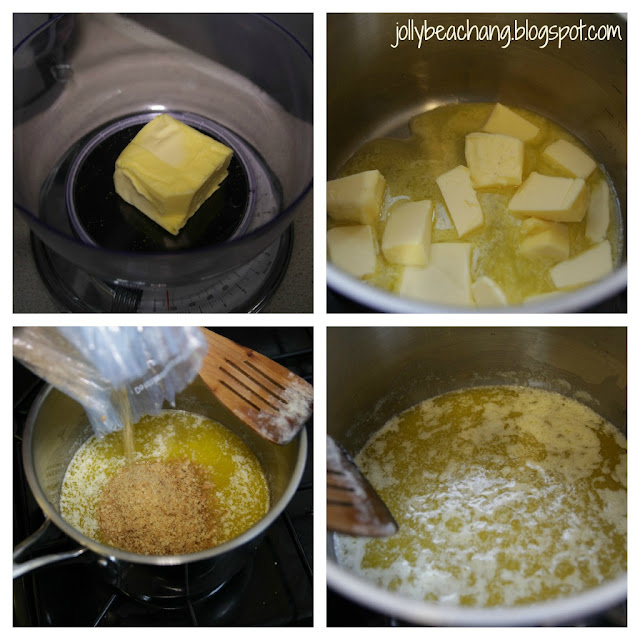
Place 150g of chopped butter (it melts faster if chopped) into a saucepan. On a medium heat, melt all the butter. Be careful not to burn the butter. Then add your crushed biscuits.
Mix the butter and biscuit mixture together. Once you have done that, pour the mixture into a cake tin or bowl of your choice. Spread and press it down evenly.
Leave it to set in the fridge while you make the topping.
Let's make the topping...
Taking your 100g of icing sugar, 500g of cream cheese, 200ml of double cream and 1tbs of vanilla essence, place all of these into a large bowl.
With an electric whisk combine all the ingredients. My advise is to take the cream cheese out of the fridge so it softens, it'll be easier to whisk. Use the whisk on a low speed.
Once the ingredients are mixed together, put the mixture on top of your cooled base. Spread this level. It doesn't have to be perfect, it looks more homemade if it's not entirely perfect.
A handy tip is to use a metal knife which you placed in warm/hot water. It stops the topping sticking to the knife when you're spreading.
Now if you're not a fan of fruits, you could finish the cheesecake as it is above. Just place into the fridge to chill. If you like fruit, lets get decorating.
The decorations...
Taking your choice of fruit, place slices on top of the cheesecake topping. This is your time to be creative!
Finished!!! Now place it back into the fridge to chill some more.
In all this takes around 30 minutes to make. However, I recommend you make this the night before so it has plenty of time to chill. If you don't, the biscuit base won't be solid and will crumble easily when it comes to cutting.
I don't have a picture of it out of the tin as I took this yummy baby to my parents. I forgot to take a picture as we were dishing it up to be eaten :-(
If you try this, let me know... I'd love to see what your version looks like!
Hope you like.
Angela xox


Wow this looks so delicious! I like how it seems pretty straightforward to make aswell xx
ReplyDeletewow, it looks so good. I'll be round for a slice soon. ;) x
ReplyDeleteYou make it look so easy! xoxo.
ReplyDelete